
Let’s Get Crafty: Learn How to Make Candles in Just 10 Steps!
If you’ve never made candles before, don’t worry – it’s a fun and rewarding DIY project that anyone can do. All you need are a few supplies and a little bit of time to get started. So grab your wax, wicks, and fragrances, and let’s dive into the world of candle-making!
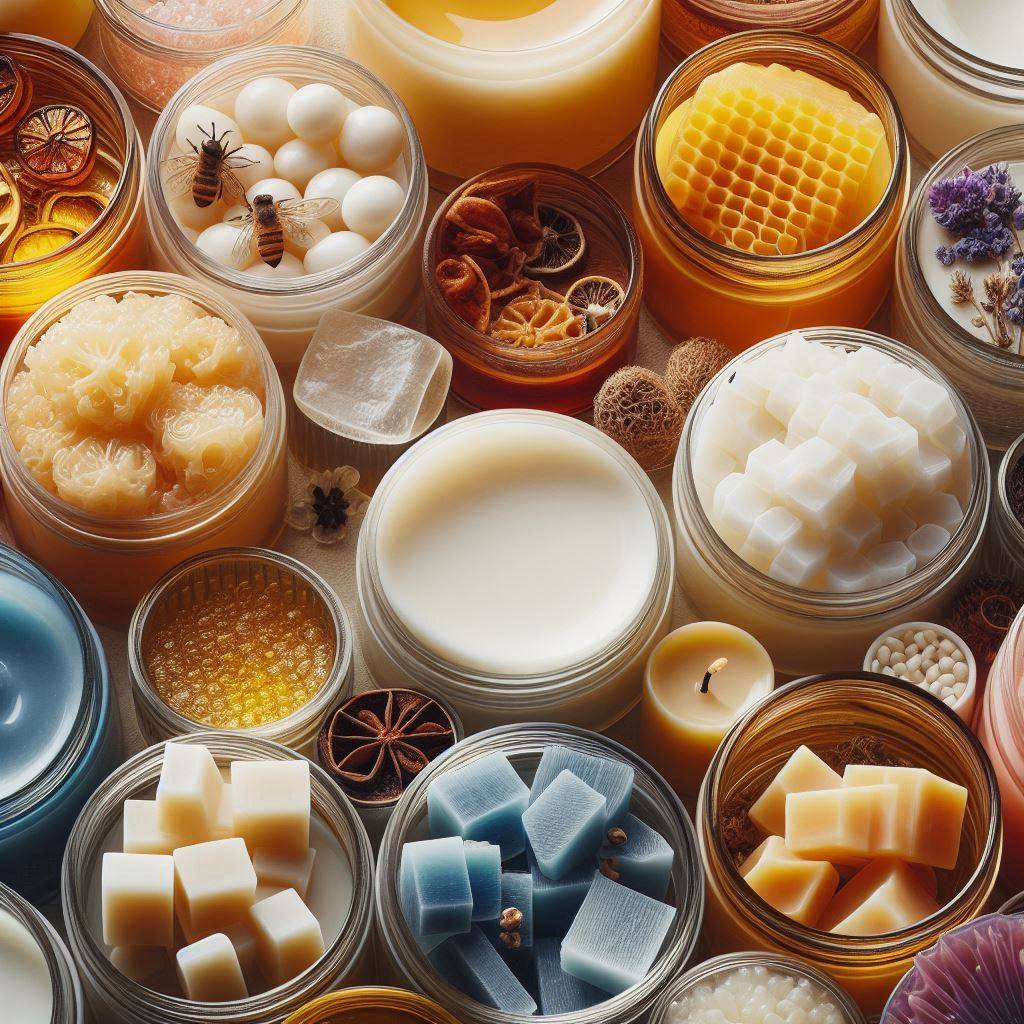
Step 1: Gather Your Supplies
To make candles, you will need wax (such as soy wax, beeswax, or paraffin wax), wicks, a double boiler or microwave-safe container, a stirring utensil, a thermometer, and fragrance oils or essential oils for scent. You may also want to have a scale to measure out your ingredients accurately, and containers for your candles like glass jars or tins. Ensure you have everything within reach before you start to avoid any interruptions
Step 2: Prepare Your Work Area
Cover your work surface with newspaper or a disposable tablecloth to protect it from any wax spills. Make sure you have all your supplies within reach for easy access. This will make the process smoother and help prevent any messes. Having a tidy and organized workspace can also make the experience more enjoyable and efficient
Step 3: Melt the Wax
Using a double boiler or a microwave-safe container, melt the wax flakes or blocks until they reach the desired temperature. If using a double boiler, fill the bottom pot with water and place the wax in the top pot. Heat gently until the wax is fully melted. Use a thermometer to monitor the temperature, keeping it around 170-180°F (76-82°C) depending on the type of wax you are using. This helps ensure the wax melts evenly and prevents it from overheating (Lunar Eclipse Candles) (Lunar Eclipse Candles).
Step 4: Add Fragrance
Once the wax is melted, remove it from the heat and let it cool slightly. Stir in your chosen fragrance oil or essential oil to add a delightful scent to your candles. Be sure to mix it well to ensure an even distribution of the fragrance throughout the wax. The amount of fragrance oil you add can vary, but a general guideline is to use about 1 ounce of fragrance per pound of wax.
Step 5: Secure the Wick
Dip the base of the wick into the melted wax and then place it in the center of your candle container. Hold it in place until the wax hardens enough to keep the wick stable. Alternatively, you can use a wick sticker or a dab of hot glue to secure the wick to the bottom of the container. Use a wick holder, chopsticks, or tape to keep the wick upright and in place while the wax cools and solidifies
Step 6: Pour the Wax
Carefully pour the melted wax into your candle container, holding the wick straight. Pour slowly to avoid creating air bubbles. Leave a small amount of space at the top of the container to prevent overflow. Allow the wax to cool and harden for several hours before moving on to the next step. This cooling period is essential for the wax to set properly and form a smooth surface.
Step 7: Trim the Wick
Once the wax has completely hardened, trim the wick to about half an inch above the surface of the candle. This will help ensure a clean and even burn when you light the candle. A properly trimmed wick reduces the chances of soot and smoke and helps the candle burn longer and more efficiently. Use scissors or a wick trimmer for a precise cut.
Step 8: Let the Candle Cure
Although it might be tempting to light your candle right away, letting it cure for a few days to a week can improve its performance. During this time, the fragrance will bind with the wax, resulting in a stronger scent throw when the candle is burned. Store the candle in a cool, dry place during the curing process.
Step 9: Light and Enjoy Your Homemade Candle
Once your candle has fully set and cured, light it up and bask in the warm glow and delightful scent of your handcrafted creation. Sit back, relax, and enjoy the cozy ambiance that your homemade candle brings to your space. Remember to always follow candle safety guidelines, such as keeping the candle away from flammable objects and never leaving it unattended while burning.
Step 10: Maintain Your Candle
Proper candle care extends the life of your candle and ensures a safe and enjoyable experience. Trim the wick to 1/4 inch before each use, and avoid burning the candle for more than 4 hours at a time. Keep the candle away from drafts to prevent uneven burning and soot. Extinguish the candle when it burns down to 1/2 inch of wax to prevent overheating the container
Congratulations – you’ve successfully learned how to make candles in just 10 steps! Now that you’ve mastered the art of candle-making, the possibilities are endless. Get creative with different scents, colors, and container shapes to personalize your candles and make them truly unique. Whether you’re making candles for yourself or as gifts for loved ones, the joy of candle-making is sure to brighten your day. So gather your supplies, get crafty, and start creating your own candles to illuminate your life!
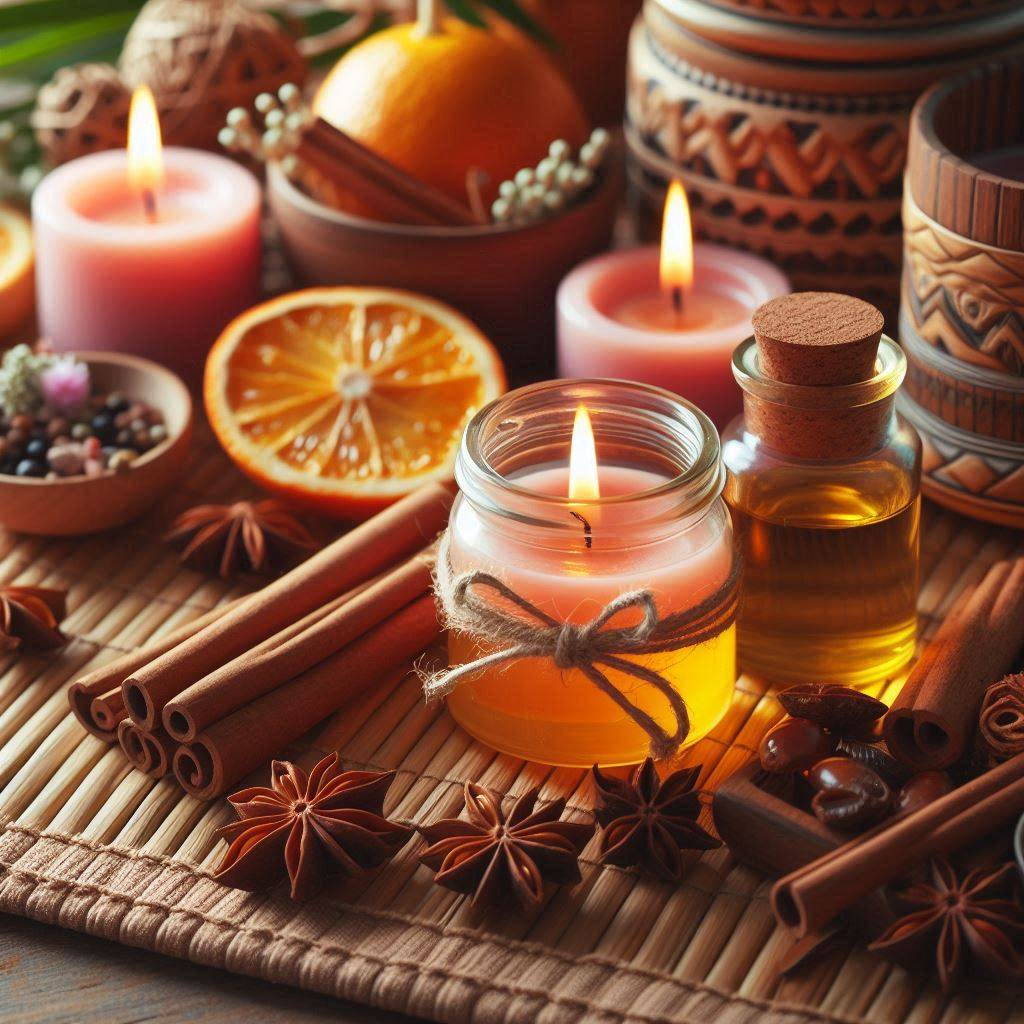
Light up your life with the soothing scents of aromatherapy candles!